Spring Cloud Alibaba:Nacos作为注册中心和配置中心使用
Spring Cloud Alibaba:Nacos作为注册中心和配置中心使用
Spring Cloud Alibaba 致力于提供微服务开发的一站式解决方案,Nacos 作为其核心组件之一,可以作为注册中心和配置中心使用,本节课程就带大家学习下Nacos的使用。
Nacos简介
Nacos 致力于帮助您发现、配置和管理微服务。Nacos 提供了一组简单易用的特性集,帮助您快速实现动态服务发现、服务配置、服务元数据及流量管理。
Nacos 具有如下特性:
- 服务发现和服务健康监测:支持基于DNS和基于RPC的服务发现,支持对服务的实时的健康检查,阻止向不健康的主机或服务实例发送请求;
- 动态配置服务:动态配置服务可以让您以中心化、外部化和动态化的方式管理所有环境的应用配置和服务配置;
- 动态 DNS 服务:动态 DNS 服务支持权重路由,让您更容易地实现中间层负载均衡、更灵活的路由策略、流量控制以及数据中心内网的简单DNS解析服务;
- 服务及其元数据管理:支持从微服务平台建设的视角管理数据中心的所有服务及元数据。
使用Nacos作为注册中心
安装并运行Nacos
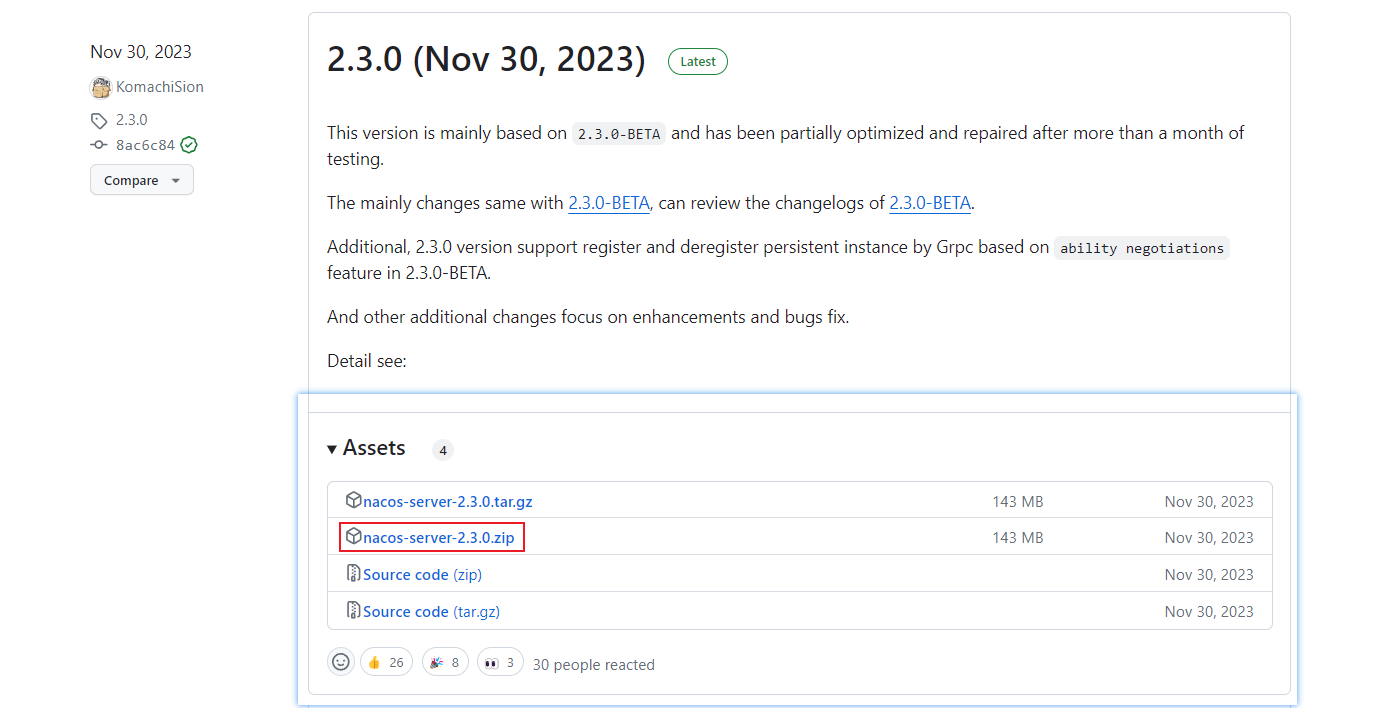
- 我们先从官网下载Nacos,这里下载的是
nacos-server-2.3.0.zip文件,下载地址:https://github.com/alibaba/nacos/releases
- 配置
JAVA_HOME环境变量,不配置会导致无法运行Nacos;
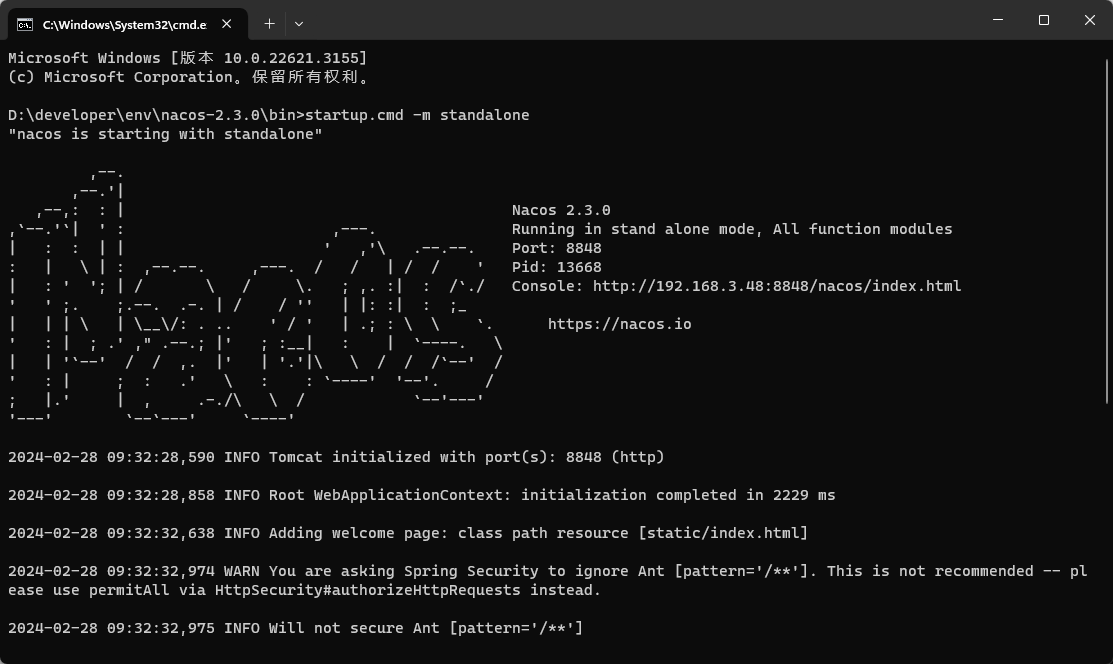
JAVA_HOME=D:\developer\env\Java\jdk1.8.0_91- 解压安装包,进入到解压目录的
bin目录下,使用如下命令以单节点模式运行nacos;
startup.cmd -m standalone- 运行成功后,控制台将输出如下信息;
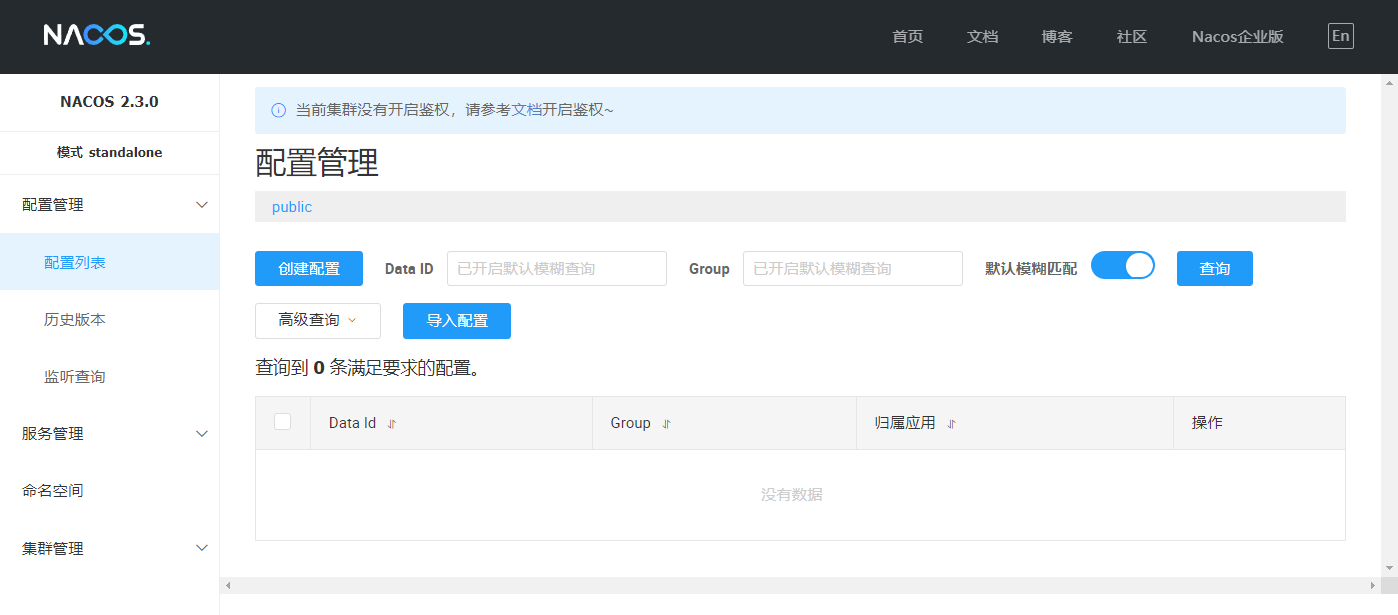
- 然后就可以访问Nacos的管理页面了,访问地址:http://localhost:8848/nacos/index.html
创建应用注册到Nacos
我们将创建两个模块nacos-user-service和nacos-remote-service来演示下服务注册与发现的功能。
- 创建nacos-user-service模块,在UserController中有对User信息的CRUD接口;
/**
 * @auther macrozheng
 * @description 用户管理Controller
 * @date 2023/11/30
 * @github https://github.com/macrozheng
 */
@RestController
@RequestMapping("/user")
public class UserController {

    private Logger LOGGER = LoggerFactory.getLogger(this.getClass());

    @Autowired
    private UserService userService;

    @PostMapping("/create")
    public CommonResult create(@RequestBody User user) {
        userService.create(user);
        return new CommonResult("操作成功", 200);
    }

    @GetMapping("/{id}")
    public CommonResult<User> getUser(@PathVariable Long id) {
        User user = userService.getUser(id);
        LOGGER.info("根据id获取用户信息,用户名称为:{}",user.getUsername());
        return new CommonResult<>(user);
    }

    @GetMapping("/getUserByIds")
    public CommonResult<List<User>> getUserByIds(@RequestParam List<Long> ids) {
        List<User> userList= userService.getUserByIds(ids);
        LOGGER.info("根据ids获取用户信息,用户列表为:{}",userList);
        return new CommonResult<>(userList);
    }

    @GetMapping("/getByUsername")
    public CommonResult<User> getByUsername(@RequestParam String username) {
        User user = userService.getByUsername(username);
        return new CommonResult<>(user);
    }

    @PostMapping("/update")
    public CommonResult update(@RequestBody User user) {
        userService.update(user);
        return new CommonResult("操作成功", 200);
    }

    @PostMapping("/delete/{id}")
    public CommonResult delete(@PathVariable Long id) {
        userService.delete(id);
        return new CommonResult("操作成功", 200);
    }
}- 创建和nacos-remote-service模块,在RemoteUserController中会远程调用nacos-user-service中的接口;
/**
 * @auther macrozheng
 * @description 远程调用用户服务的API接口
 * @date 2023/11/30
 * @github https://github.com/macrozheng
 */
@RestController
@RequestMapping("/user")
public class RemoteUserController {
    @Autowired
    private RestTemplate restTemplate;
    @Value("${service-url.nacos-user-service}")
    private String userServiceUrl;

    @GetMapping("/{id}")
    public CommonResult getUser(@PathVariable Long id) {
        return restTemplate.getForObject(userServiceUrl + "/user/{1}", CommonResult.class, id);
    }

    @GetMapping("/getByUsername")
    public CommonResult getByUsername(@RequestParam String username) {
        return restTemplate.getForObject(userServiceUrl + "/user/getByUsername?username={1}", CommonResult.class, username);
    }

    @GetMapping("/getEntityByUsername")
    public CommonResult getEntityByUsername(@RequestParam String username) {
        ResponseEntity<CommonResult> entity = restTemplate.getForEntity(userServiceUrl + "/user/getByUsername?username={1}", CommonResult.class, username);
        if (entity.getStatusCode().is2xxSuccessful()) {
            return entity.getBody();
        } else {
            return new CommonResult("操作失败", 500);
        }
    }

    @PostMapping("/create")
    public CommonResult create(@RequestBody User user) {
        return restTemplate.postForObject(userServiceUrl + "/user/create", user, CommonResult.class);
    }

    @PostMapping("/update")
    public CommonResult update(@RequestBody User user) {
        return restTemplate.postForObject(userServiceUrl + "/user/update", user, CommonResult.class);
    }

    @PostMapping("/delete/{id}")
    public CommonResult delete(@PathVariable Long id) {
        return restTemplate.postForObject(userServiceUrl + "/user/delete/{1}", null, CommonResult.class, id);
    }
}- 如果要使用Spring Cloud Alibaba的组件都需要在
pom.xml中添加如下的配置;
<dependencyManagement>
    <dependencies>
        <dependency>
            <groupId>com.alibaba.cloud</groupId>
            <artifactId>spring-cloud-alibaba-dependencies</artifactId>
            <version>${spring-cloud-alibaba.version}</version>
            <type>pom</type>
            <scope>import</scope>
        </dependency>
    </dependencies>
</dependencyManagement>- 添加Nacos的服务发现依赖;
<dependency>
    <groupId>com.alibaba.cloud</groupId>
    <artifactId>spring-cloud-starter-alibaba-nacos-discovery</artifactId>
</dependency>- 修改配置文件
application.yml,添加Nacos的服务发现配置:
server:
  port: 8206
spring:
  application:
    name: nacos-user-service
  cloud:
    nacos:
      discovery:
        server-addr: localhost:8848 #配置Nacos地址
management:
  endpoints:
    web:
      exposure: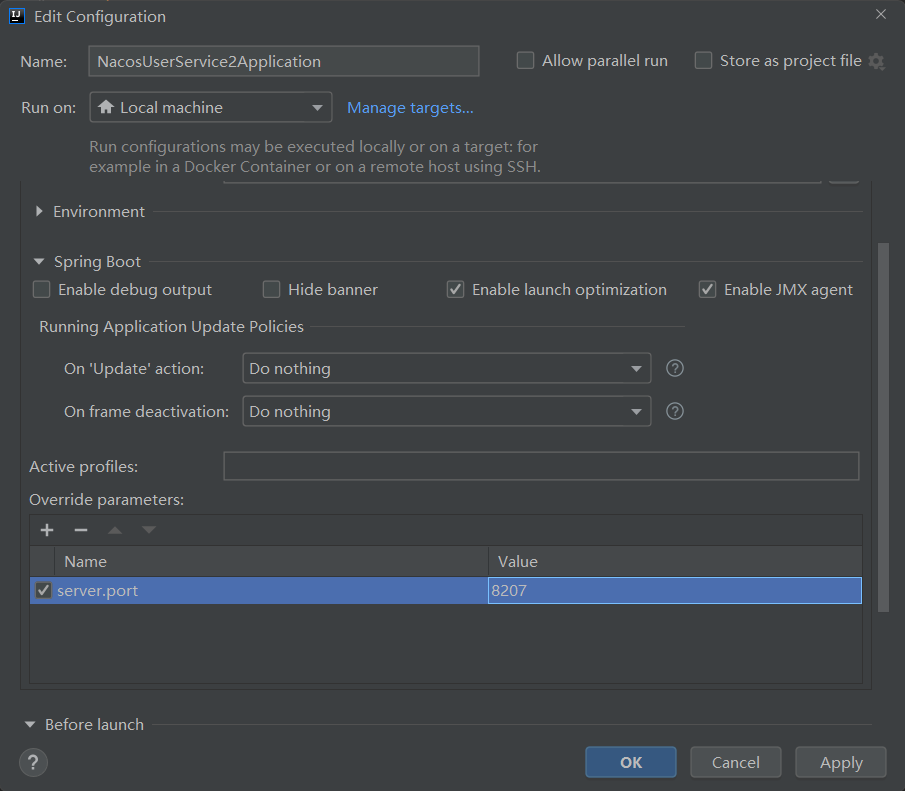
include: '*'- 运行两个nacos-user-service和一个nacos-remote-service,第二个nacos-user-service可以拷贝第一个的配置,修改下端口号运行;
- 在Nacos页面上可以看到如下信息。

负载均衡功能
由于我们运行了两个nacos-user-service,而nacos-remote-service默认会去调用它的接口,我们调用nacos-remote-service的接口来演示下负载均衡功能。
多次调用接口:http://localhost:8308/user/1 ,可以发现两个nacos-user-service的控制台交替打印如下信息。
2023-11-30T10:10:13.198+08:00 INFO 3908 --- [nio-8206-exec-1] c.macro.cloud.controller.UserController : 根据id获取用户信息,用户名称为:macro使用Nacos作为配置中心
我们通过创建nacos-config-client模块,并在Nacos页面中添加配置信息来演示下配置管理的功能。
创建nacos-config-client模块
- 在
pom.xml中添加相关依赖;
<dependency>
    <groupId>com.alibaba.cloud</groupId>
    <artifactId>spring-cloud-starter-alibaba-nacos-config</artifactId>
</dependency>
<dependency>
    <groupId>com.alibaba.cloud</groupId>
    <artifactId>spring-cloud-starter-alibaba-nacos-discovery</artifactId>
</dependency>
<!--从2021.0.5版本起,Spring Cloud将不再默认引用bootstrap包,需要手动导入-->
<dependency>
    <groupId>org.springframework.cloud</groupId>
    <artifactId>spring-cloud-starter-bootstrap</artifactId>
</dependency>- 添加配置文件
application.yml,启用的是dev环境的配置;
spring:
  profiles:
active: dev- 添加配置文件
bootstrap.yml,主要是对Nacos的作为配置中心的功能进行配置;
server:
  port: 9101
spring:
  application:
    name: nacos-config-client
  cloud:
    nacos:
      discovery:
        server-addr: localhost:8848 #Nacos地址
      config:
        server-addr: localhost:8848 #Nacos地址
file-extension: yaml #这里我们获取的yaml格式的配置- 创建ConfigClientController,从Nacos配置中心中获取配置信息:
/**
* @auther macrozheng
* @description 配置管理Controller
* @date 2023/11/30
* @github https://github.com/macrozheng
*/
@RestController
@RefreshScope
public class ConfigClientController {
@Value("${config.info}")
private String configInfo;
@GetMapping("/configInfo")
public String getConfigInfo() {
return configInfo;
}
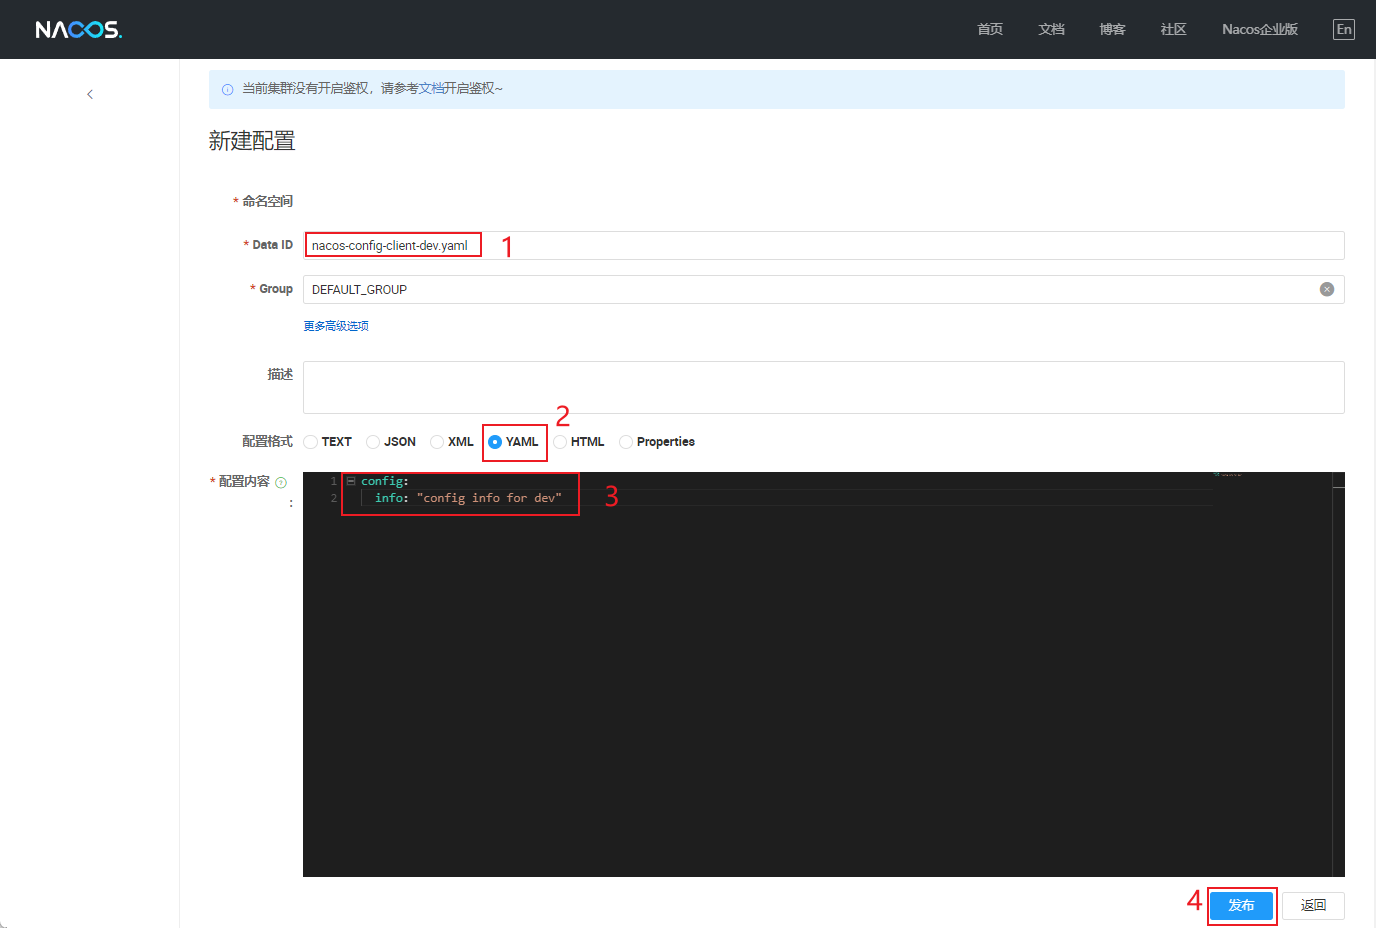
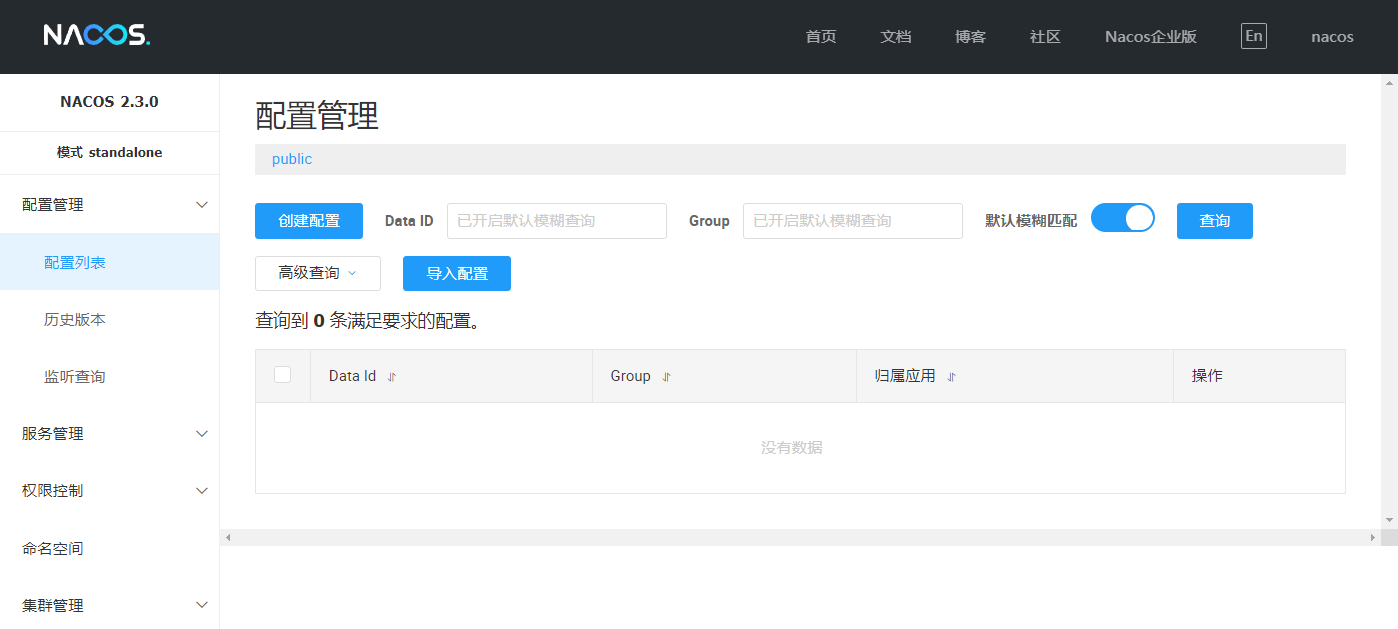
}在Nacos中添加配置
- 我们先来讲下Nacos中的
dataid的组成格式及与SpringBoot配置文件中的属性对应关系;
${spring.application.name}-${spring.profiles.active}.${spring.cloud.nacos.config.file-extension}- 比如说我们现在要获取应用名称为
nacos-config-client的应用在dev环境下的yaml配置,dataid如下;
nacos-config-client-dev.yaml- 按照以上
dataid添加如下配置;
config:
info: "config info for dev"- 填写配置示意图:
- 启动nacos-config-client,调用接口查看配置信息:http://localhost:9101/configInfo
config info for devNacos的动态刷新配置
我们只要修改下Nacos中的配置信息,再次调用查看配置的接口,就会发现配置已经刷新,Nacos和Consul一样都支持动态刷新配置。当我们在Nacos页面上修改配置并发布后,应用会刷新配置并打印如下信息
2023-11-30T10:54:54.262+08:00  INFO 14112 --- [r-localhost-157] com.alibaba.nacos.common.remote.client   : [9d26afcf-3897-482b-9617-940b128469f6_config-0] Receive server push request, request = ConfigChangeNotifyRequest, requestId = 2
2023-11-30T10:54:54.262+08:00  INFO 14112 --- [r-localhost-157] c.a.n.client.config.impl.ClientWorker    : [9d26afcf-3897-482b-9617-940b128469f6_config-0] [server-push] config changed. dataId=nacos-config-client-dev.yaml, group=DEFAULT_GROUP,tenant=null
2023-11-30T10:54:54.262+08:00  INFO 14112 --- [r-localhost-157] com.alibaba.nacos.common.remote.client   : [9d26afcf-3897-482b-9617-940b128469f6_config-0] Ack server push request, request = ConfigChangeNotifyRequest, requestId = 2
2023-11-30T10:54:54.269+08:00  INFO 14112 --- [s.client.Worker] c.a.n.client.config.impl.ClientWorker    : [fixed-localhost_8848] [data-received] dataId=nacos-config-client-dev.yaml, group=DEFAULT_GROUP, tenant=, md5=d70e94e6322e16d5a5b9ecbd26e42c30, content=config:
  info: "config info for dev update", type=yaml
2023-11-30T10:54:54.270+08:00  INFO 14112 --- [s.client.Worker] c.a.nacos.client.config.impl.CacheData   : [fixed-localhost_8848] [notify-listener] time cost=0ms in ClientWorker, dataId=nacos-config-client-dev.yaml, group=DEFAULT_GROUP, md5=d70e94e6322e16d5a5b9ecbd26e42c30, listener=com.alibaba.cloud.nacos.refresh.NacosContextRefresher$1@322de575
2023-11-30T10:54:54.270+08:00  INFO 14112 --- [ternal.notifier] c.a.nacos.client.config.impl.CacheData   : [fixed-localhost_8848] [notify-context] dataId=nacos-config-client-dev.yaml, group=DEFAULT_GROUP, md5=d70e94e6322e16d5a5b9ecbd26e42c30
2023-11-30T10:54:54.480+08:00  INFO 14112 --- [ternal.notifier] b.c.PropertySourceBootstrapConfiguration : Located property source: [BootstrapPropertySource {name='bootstrapProperties-nacos-config-client-dev.yaml,DEFAULT_GROUP'}, BootstrapPropertySource {name='bootstrapProperties-nacos-config-client.yaml,DEFAULT_GROUP'}, BootstrapPropertySource {name='bootstrapProperties-nacos-config-client,DEFAULT_GROUP'}]
2023-11-30T10:54:54.484+08:00  INFO 14112 --- [ternal.notifier] o.s.boot.SpringApplication               : The following 1 profile is active: "dev"
2023-11-30T10:54:54.487+08:00  INFO 14112 --- [ternal.notifier] o.s.boot.SpringApplication               : Started application in 0.211 seconds (process running for 550.911)
2023-11-30T10:54:54.502+08:00  INFO 14112 --- [ternal.notifier] o.s.c.e.event.RefreshEventListener       : Refresh keys changed: [config.info]
2023-11-30T10:54:54.502+08:00  INFO 14112 --- [ternal.notifier] c.a.nacos.client.config.impl.CacheData   : [fixed-localhost_8848] [notify-ok] dataId=nacos-config-client-dev.yaml, group=DEFAULT_GROUP, md5=d70e94e6322e16d5a5b9ecbd26e42c30, listener=com.alibaba.cloud.nacos.refresh.NacosContextRefresher$1@322de575 ,cost=232 millis.
Nacos开启鉴权功能
- 由于在nacos 2.2.0版本后,默认不会开启鉴权功能,如果你想开启的话,可以修改解压目录下的
conf/application.properties配置文件;
### The auth system to use, currently only 'nacos' and 'ldap' is supported:
nacos.core.auth.system.type=nacos

### If turn on auth system:
nacos.core.auth.enabled=true

### Since 1.4.1, worked when nacos.core.auth.enabled=true and nacos.core.auth.enable.userAgentAuthWhite=false.
### The two properties is the white list for auth and used by identity the request from other server.
nacos.core.auth.server.identity.key=example
nacos.core.auth.server.identity.value=example

### The default token (Base64 String):
nacos.core.auth.plugin.nacos.token.secret.key=SecretKey012345678901234567890123456789012345678901234567890123456789- 然后就可以访问Nacos的管理页面了,输入默认账号密码
nacos:nacos登录即可,访问地址:http://localhost:8848/nacos/index.html
- 由于Nacos开启了鉴权功能,应用在访问时还需在
application.yml中添加账号密码的配置。
spring:
  cloud:
    nacos:
      discovery:
        server-addr: localhost:8848 #配置Nacos地址
        username: nacos
        password: nacos
总结
本节课程主要讲解了Nacos作为注册中心和配置中心的使用,通过本节课程的学习我们可以发现Nacos使用起来还是挺方便的,特别是它的可视化管理!
参考资料
Nacos官方文档:https://nacos.io/zh-cn/docs/quick-start-spring-cloud.html
使用到的模块
springcloud-learning
├── nacos-config-client -- 用于演示nacos作为配置中心的nacos客户端
├── nacos-user-service -- 注册到nacos的提供User对象CRUD接口的服务
└── nacos-remote-service -- 注册到nacos的远程调用测试服务
项目源码地址
https://github.com/macrozheng/springcloud-learning/tree/teach